
Invite Your Team
Add teammates by email or from Slack, assign roles, and finish your setup.
Bring your teammates in as early as you can. Docpipe is far more useful when the people who hold knowledge and the people who need it are both in the workspace — which is why inviting your team is the first step in the Setup guide. You can invite people during first-run setup or any time from settings.
Invite by email
Go to Settings → Members and select Invite member. In the Invite a team member dialog:
- Choose a Role. New invitations default to Member, so granting more access is always a deliberate choice.
- Enter the person's Email (for example,
colleague@example.com). - Select Send invitation.
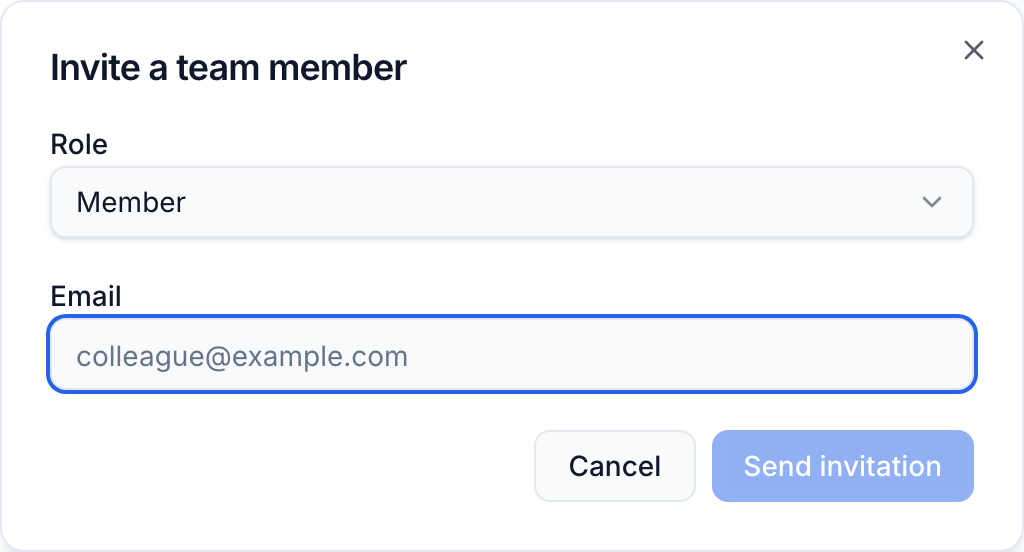
Docpipe emails each person a personal join link. Invitations expire after 7 days. If the email can't be delivered, Docpipe shows you the link so you can share it directly.
Inviting several people at once is the quickest way to get your knowledge base populated and used. If you're not sure who to add first, start with the teammates who answer the most questions — theirs is the knowledge Docpipe captures best.
Choosing a role
- Member — can create new spaces (and becomes the admin of any space they create). Access to existing content is granted per space. This is the right default for most people.
- Super Admin — full access to the workspace: members, roles, integrations, spaces, and settings.
You can also build custom roles with your own permission sets — see Roles & privileges. (Custom roles are a paid feature; the two built-in roles are always available.)
Invite from Slack
If your Slack workspace is connected, the invite dialog adds a Pick from Slack tab. It lists your Slack members with checkboxes so you can invite several at once; anyone already in the workspace or already invited is marked so you don't add them twice. If Slack is connected, this is the fastest way to get everyone in.
Manage pending invitations
The Members page has a Pending invitations section for invites that haven't been accepted yet. For each one you can:
- Resend the email (available again after a short cooldown), which also refreshes the 7-day expiry.
- Revoke it, which immediately disables the link.
Approve requests to join
If you set an email domain on your organization, teammates who sign up with a matching email can request to join instead of waiting for an invite. When someone does, a Join requests section appears at the top of the Members page with Approve and Decline. Approving adds them as a Member.

Setting an email domain is a low-effort way to let your team join on their own. If you didn't add one when creating your organization, you can set it later in your organization settings.
Finish your setup
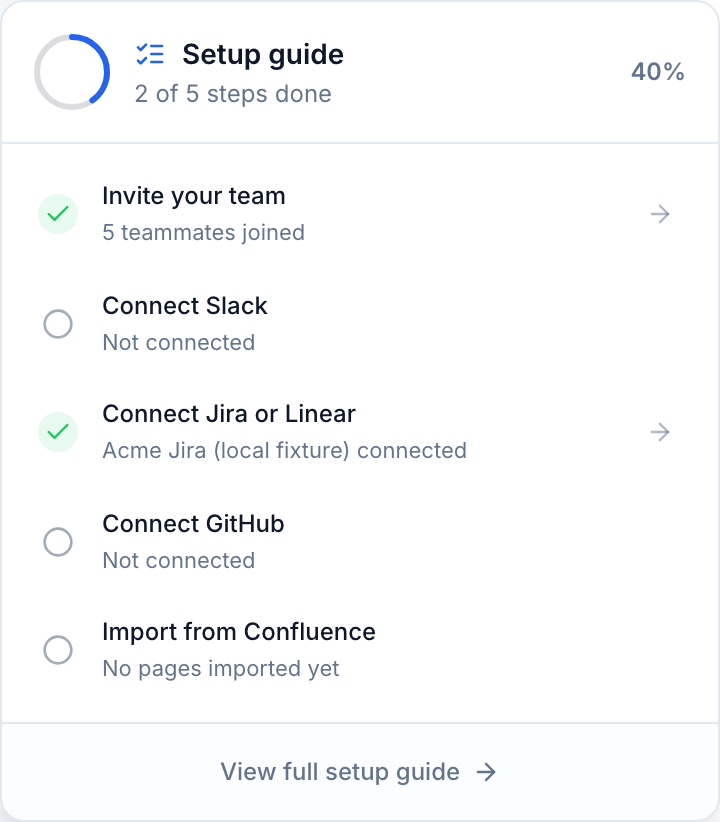
Docpipe tracks the steps that get a team to value fastest in the Setup guide:
- Invite your team
- Connect Slack
- Connect Jira or Linear
- Connect GitHub
- Import from Confluence
You'll find it as a progress ring in the sidebar and in full at Settings → Setup guide. It updates automatically as you go — invite a teammate and the first item ticks off on its own. We recommend working through all of them in your first session: each one you complete lets the knowledge base capture and answer more on its own. A step that genuinely doesn't apply to your team can be skipped, and a real signal always overrides a skip.
Next step
Learn core concepts so everyone shares the same vocabulary — spaces, documents, and the capture-to-answer loop.