
Jira
Turn resolved Jira issues into proposed documentation updates.
Connecting Jira lets Docpipe create and link Jira issues from your docs, and — most usefully — turn resolved issues into proposed documentation updates, so your docs keep up with the work your team ships.
Setting up Jira requires admin access (organization owner, or a role with Manage org settings).
Connect Jira
- Go to Settings → Integrations → Jira and select Connect Jira.
- Authorize Docpipe through Atlassian.
- If your Atlassian account can reach more than one Jira site, pick the one to connect on the Choose a Jira site step and select Connect selected site.
Choose which projects Docpipe works with
After connecting, select Choose projects and pick the Jira projects Docpipe should work with. This step matters: until you choose projects, the connection does nothing — issues can't be linked or created, and no tickets are reviewed for doc updates.
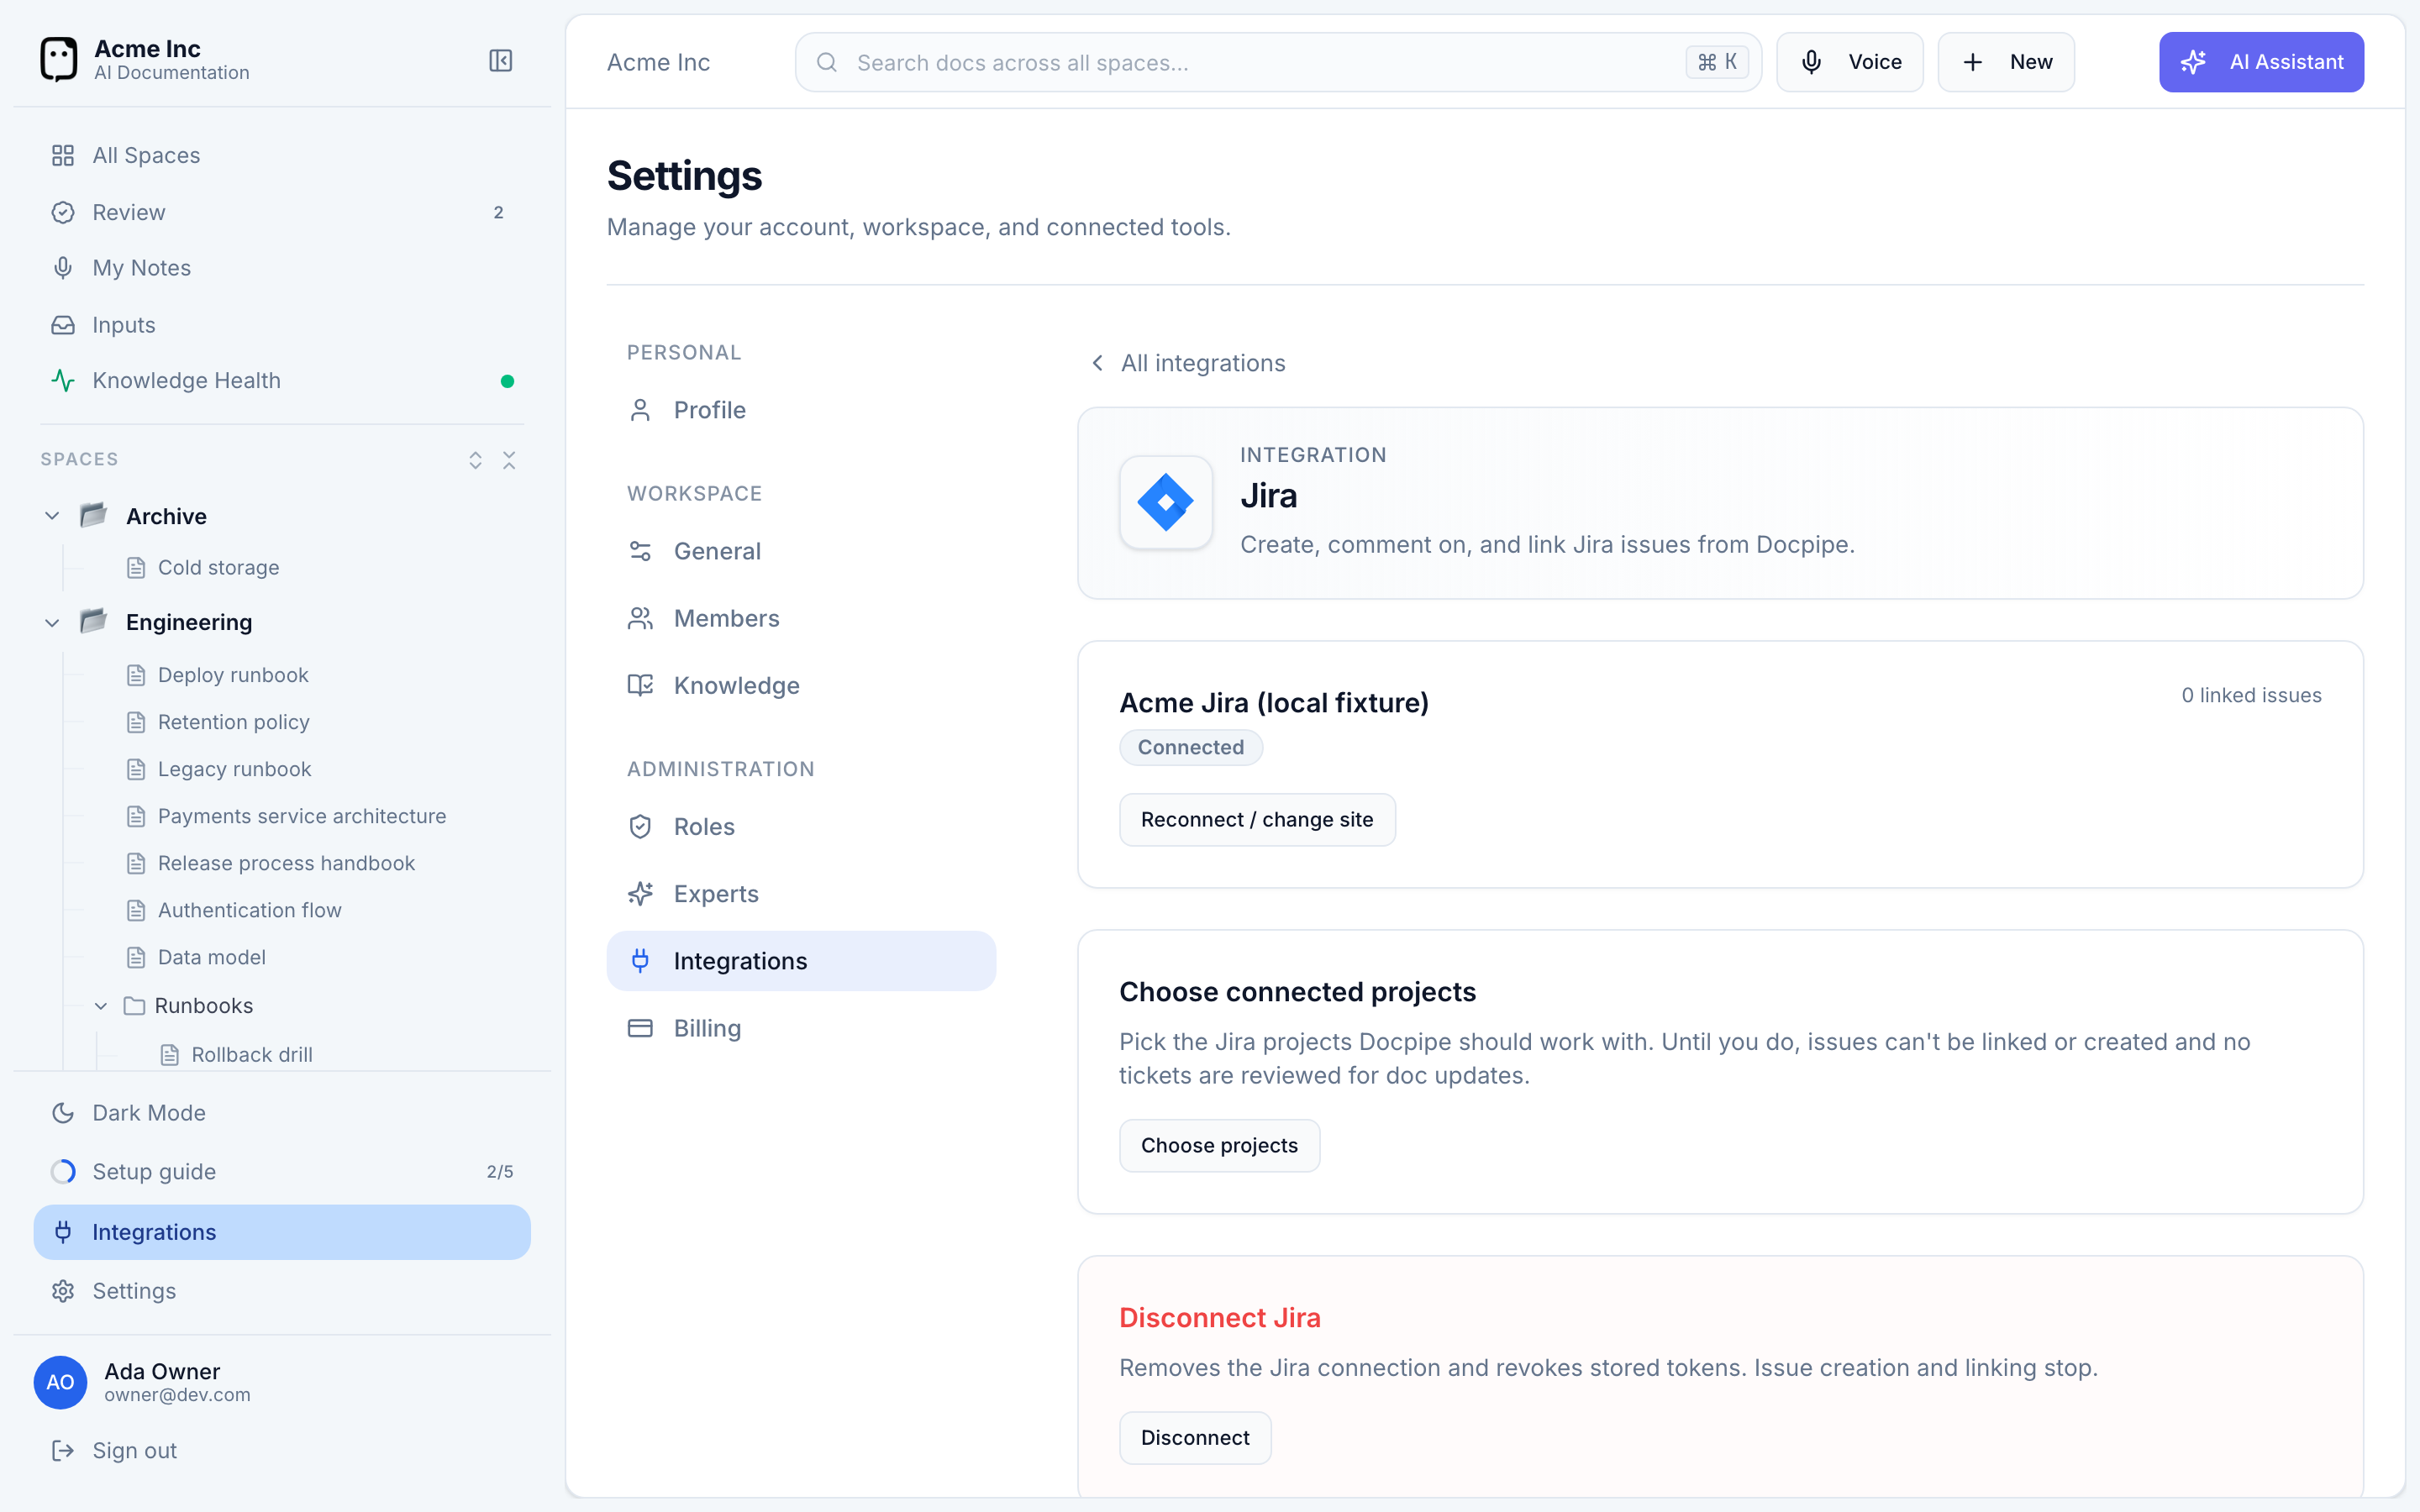
Docpipe only works with the projects you pick. When a ticket in one of them is resolved, Docpipe reviews the documents linked to it and proposes updates — reviewed like any other change before they're saved.
To change scope later, use Edit projects. Removing a project stops future reviews for its tickets; existing links stay.
Disconnecting Jira is destructive. It permanently deletes the links between your documents and Jira issues, and reconnecting does not restore them. To change your setup, edit your projects or reconnect the site in place — don't disconnect and reconnect. Only disconnect if you truly want to remove the integration and its links for good.
Disconnect
If you do need to remove the integration, select Disconnect Jira and confirm. This revokes Docpipe's stored tokens, stops issue creation and linking, and deletes the document↔issue links (see the warning above).